Quick Low-sew F’Roman Shades

That’s right, people. We are talking about faux-roman shades. F’roman. As in, they don’t move up and down… they’re just there for their good looks! Side note — OMG I just achieved the “they’re, there, their” trifecta!!!

But first… let’s talk about this photo below. What do you do if you don’t have enough wall space for your couch? Just slide your couch right in front of your “extra” french doors, of course! And then make really cute and inexpensive f’roman shades to blend it all together.

wpid-20150121_221547.jpg

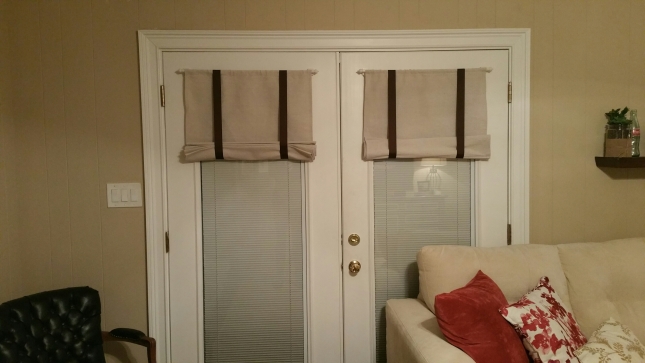
That was my solution, at least. We do love our two sets of french doors in the den, but with the fireplace on the adjacent wall and the entertainment center on the opposite wall, there just weren’t a whole lot of options for where to put that large piece of furniture. I’d like to tell you that we ran headlong and unapologetically into the land of breaking basic home functionality rules, but really, it just happened. We pretty much gave up on ever finding a couch to fit the space between the doors, and instead focused on finding one that would fit our budget. Equally challenging, I assure you.

Aaaand, I just now remembered that this post was supposed to be about curtains. So here we go! I used to have floor-length curtains on these doors, but they kept ending up getting crammed behind the couch or pushed out of the way, so I wanted a more practical solution without spending a lot of money. These simple f’roman shades turned out to be the perfect fix! Once I had collected all the supplies, I was able to get all the crafting done on a Saturday afternoon.

image

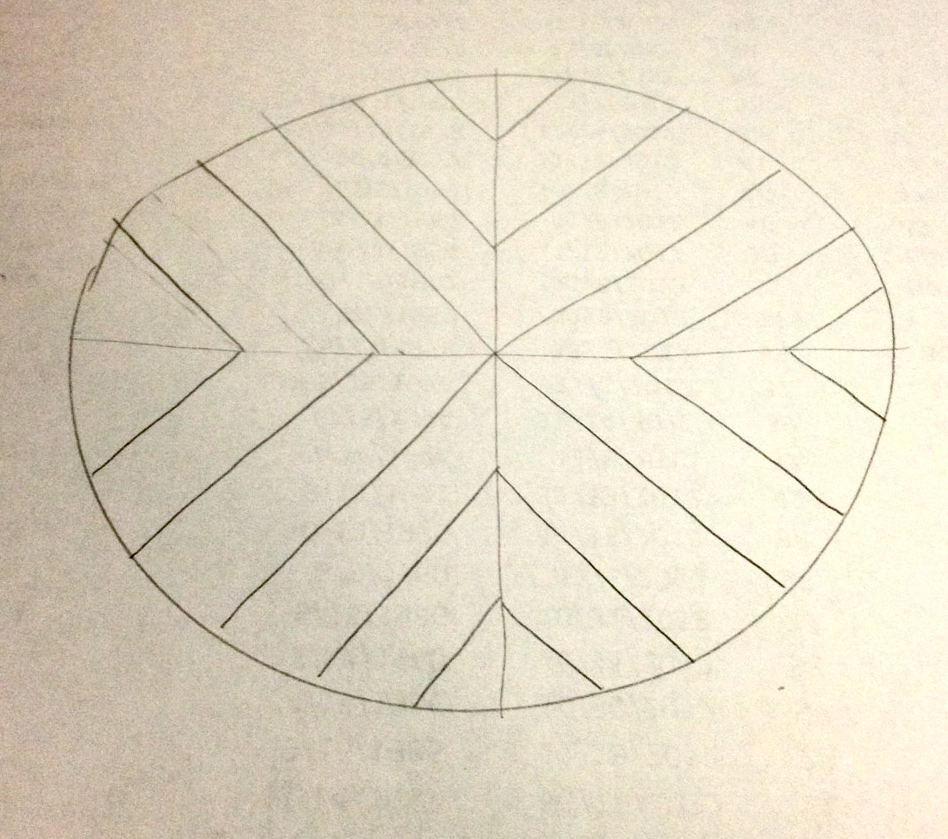
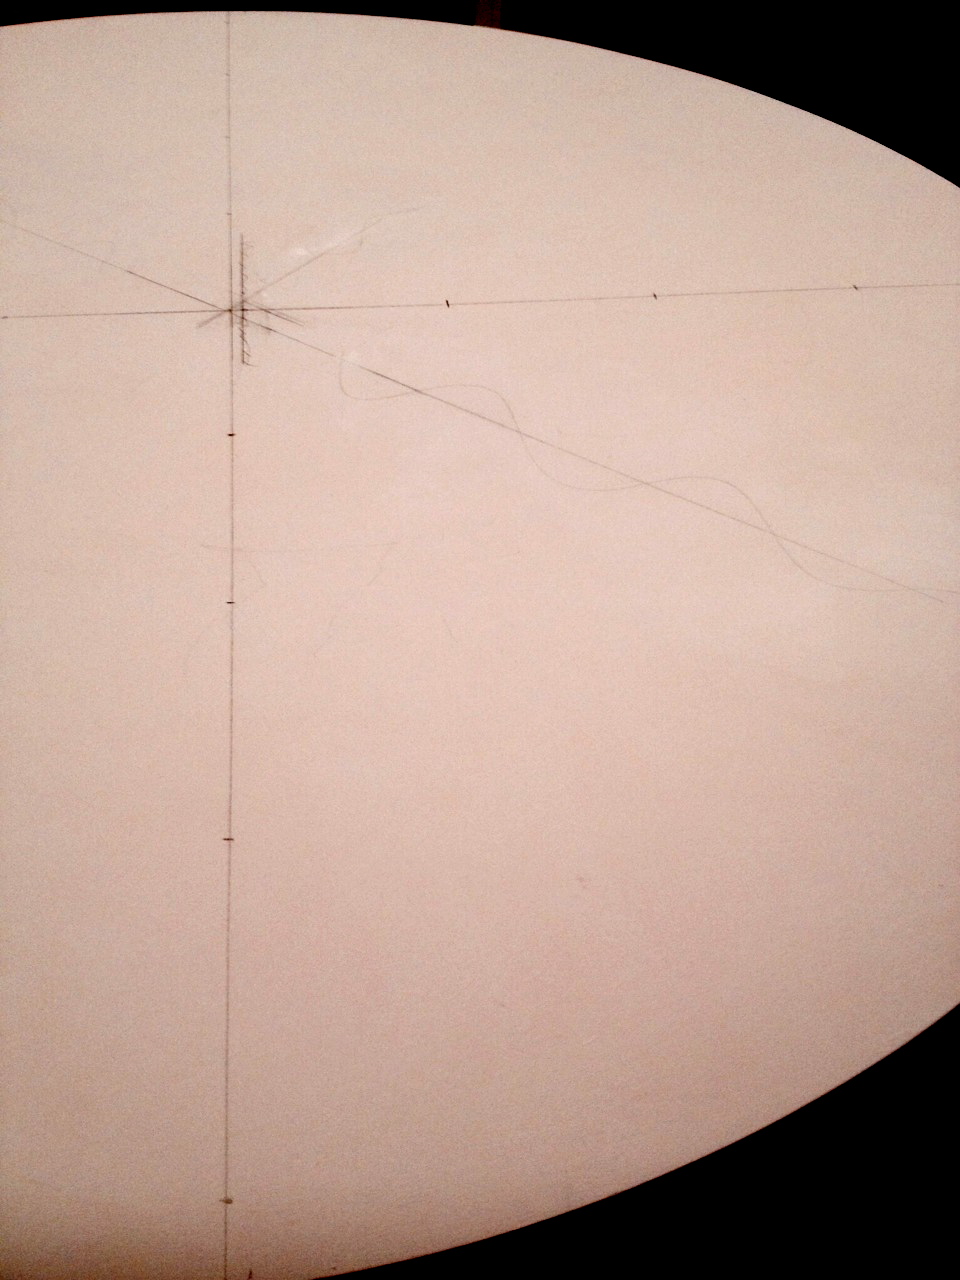
For the four shade panels, I used a 6×9′ canvas drop cloth that I cut into 4 equal pieces. Here’s a kinda messy phone drawing super-sophisticated diagram for you visual folks:
image

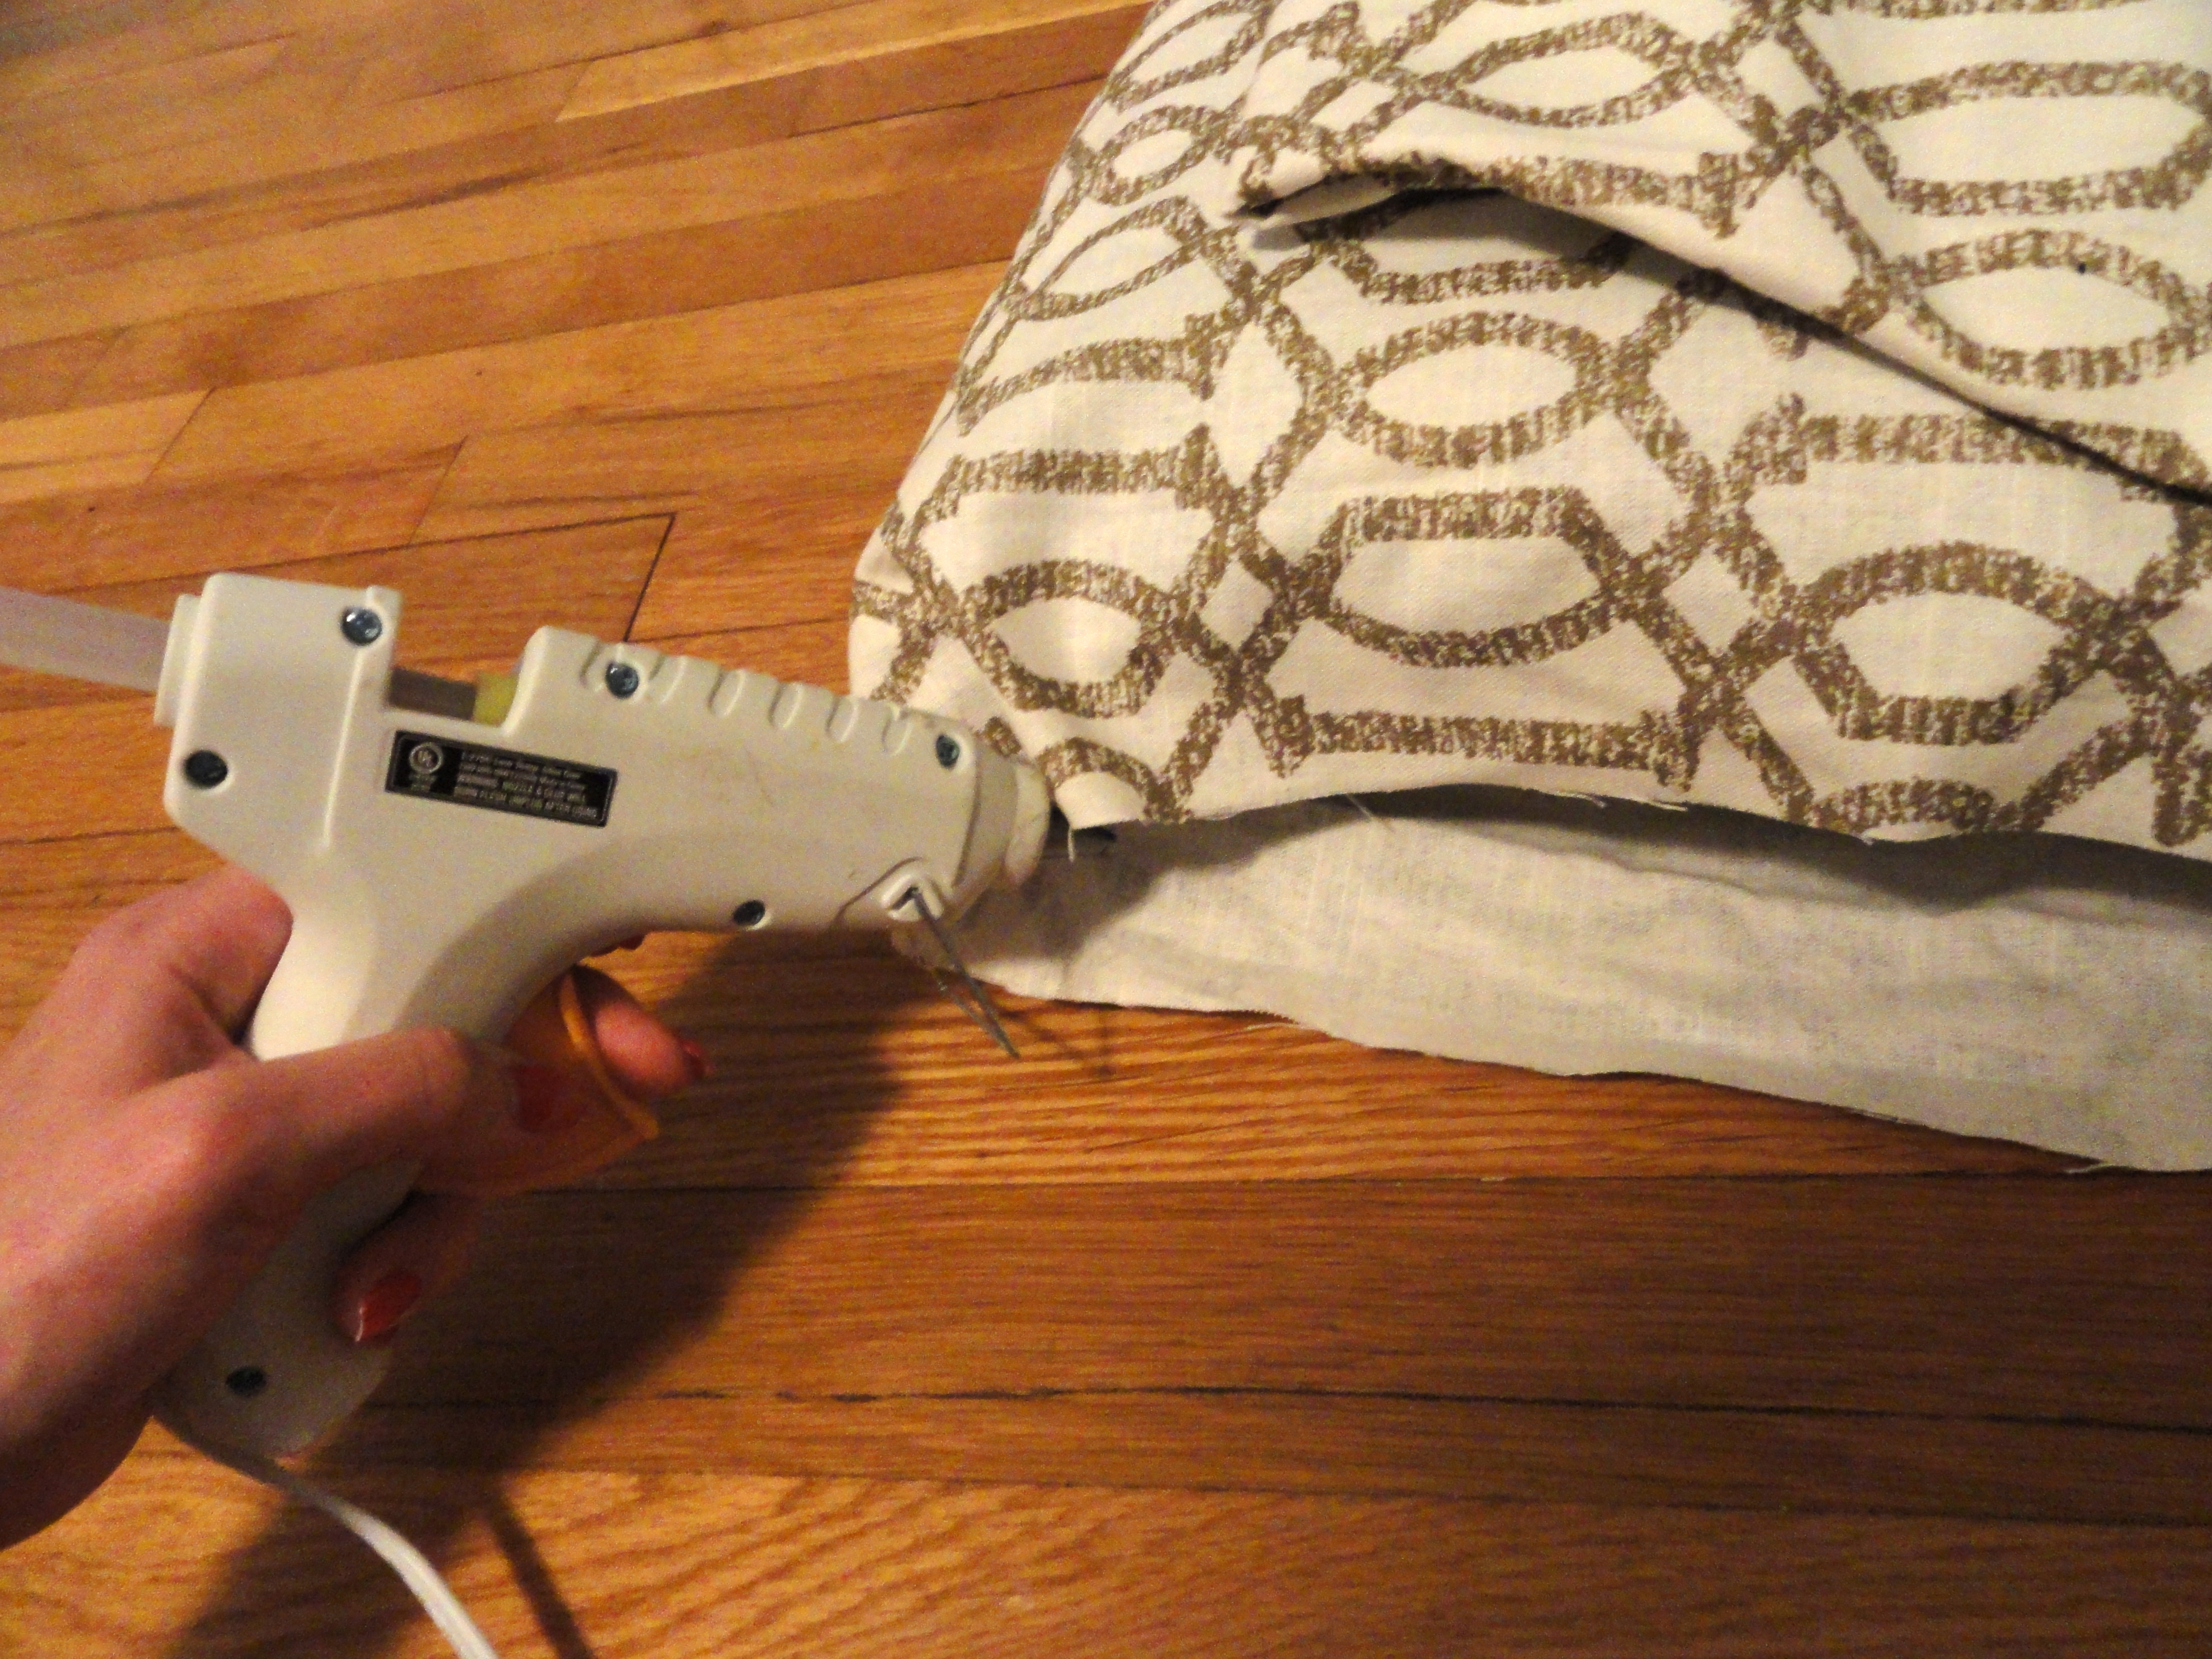
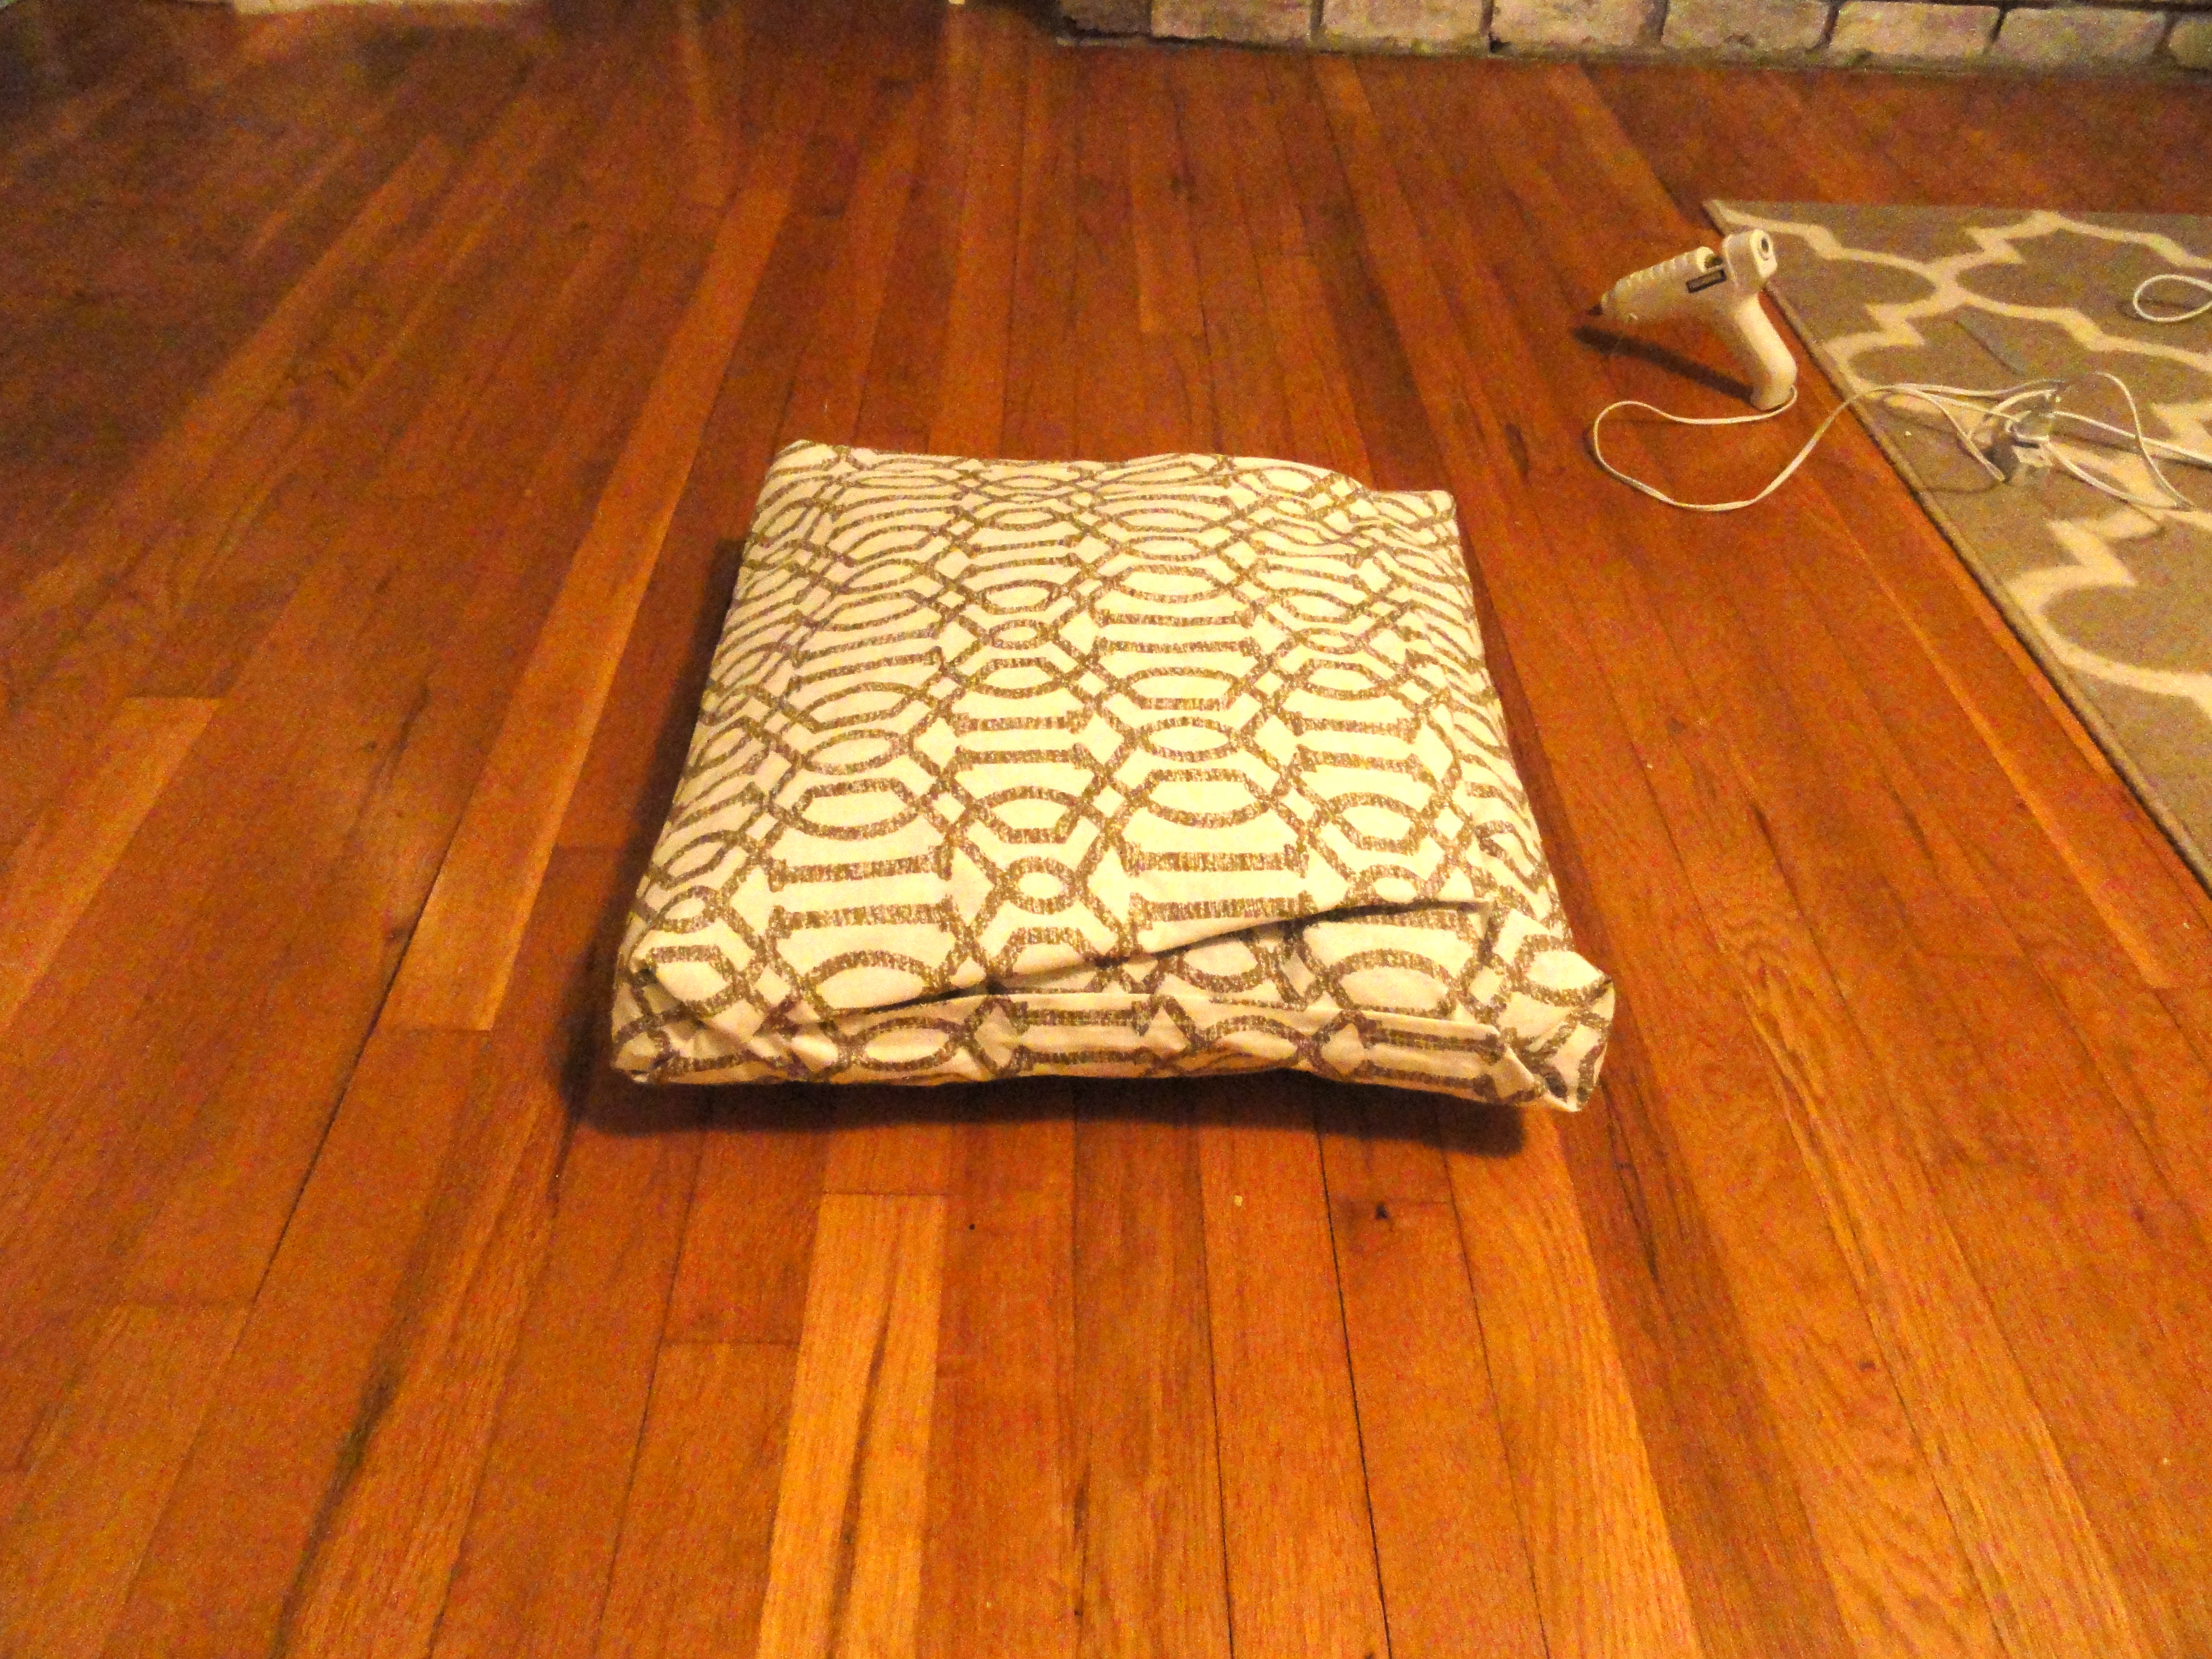
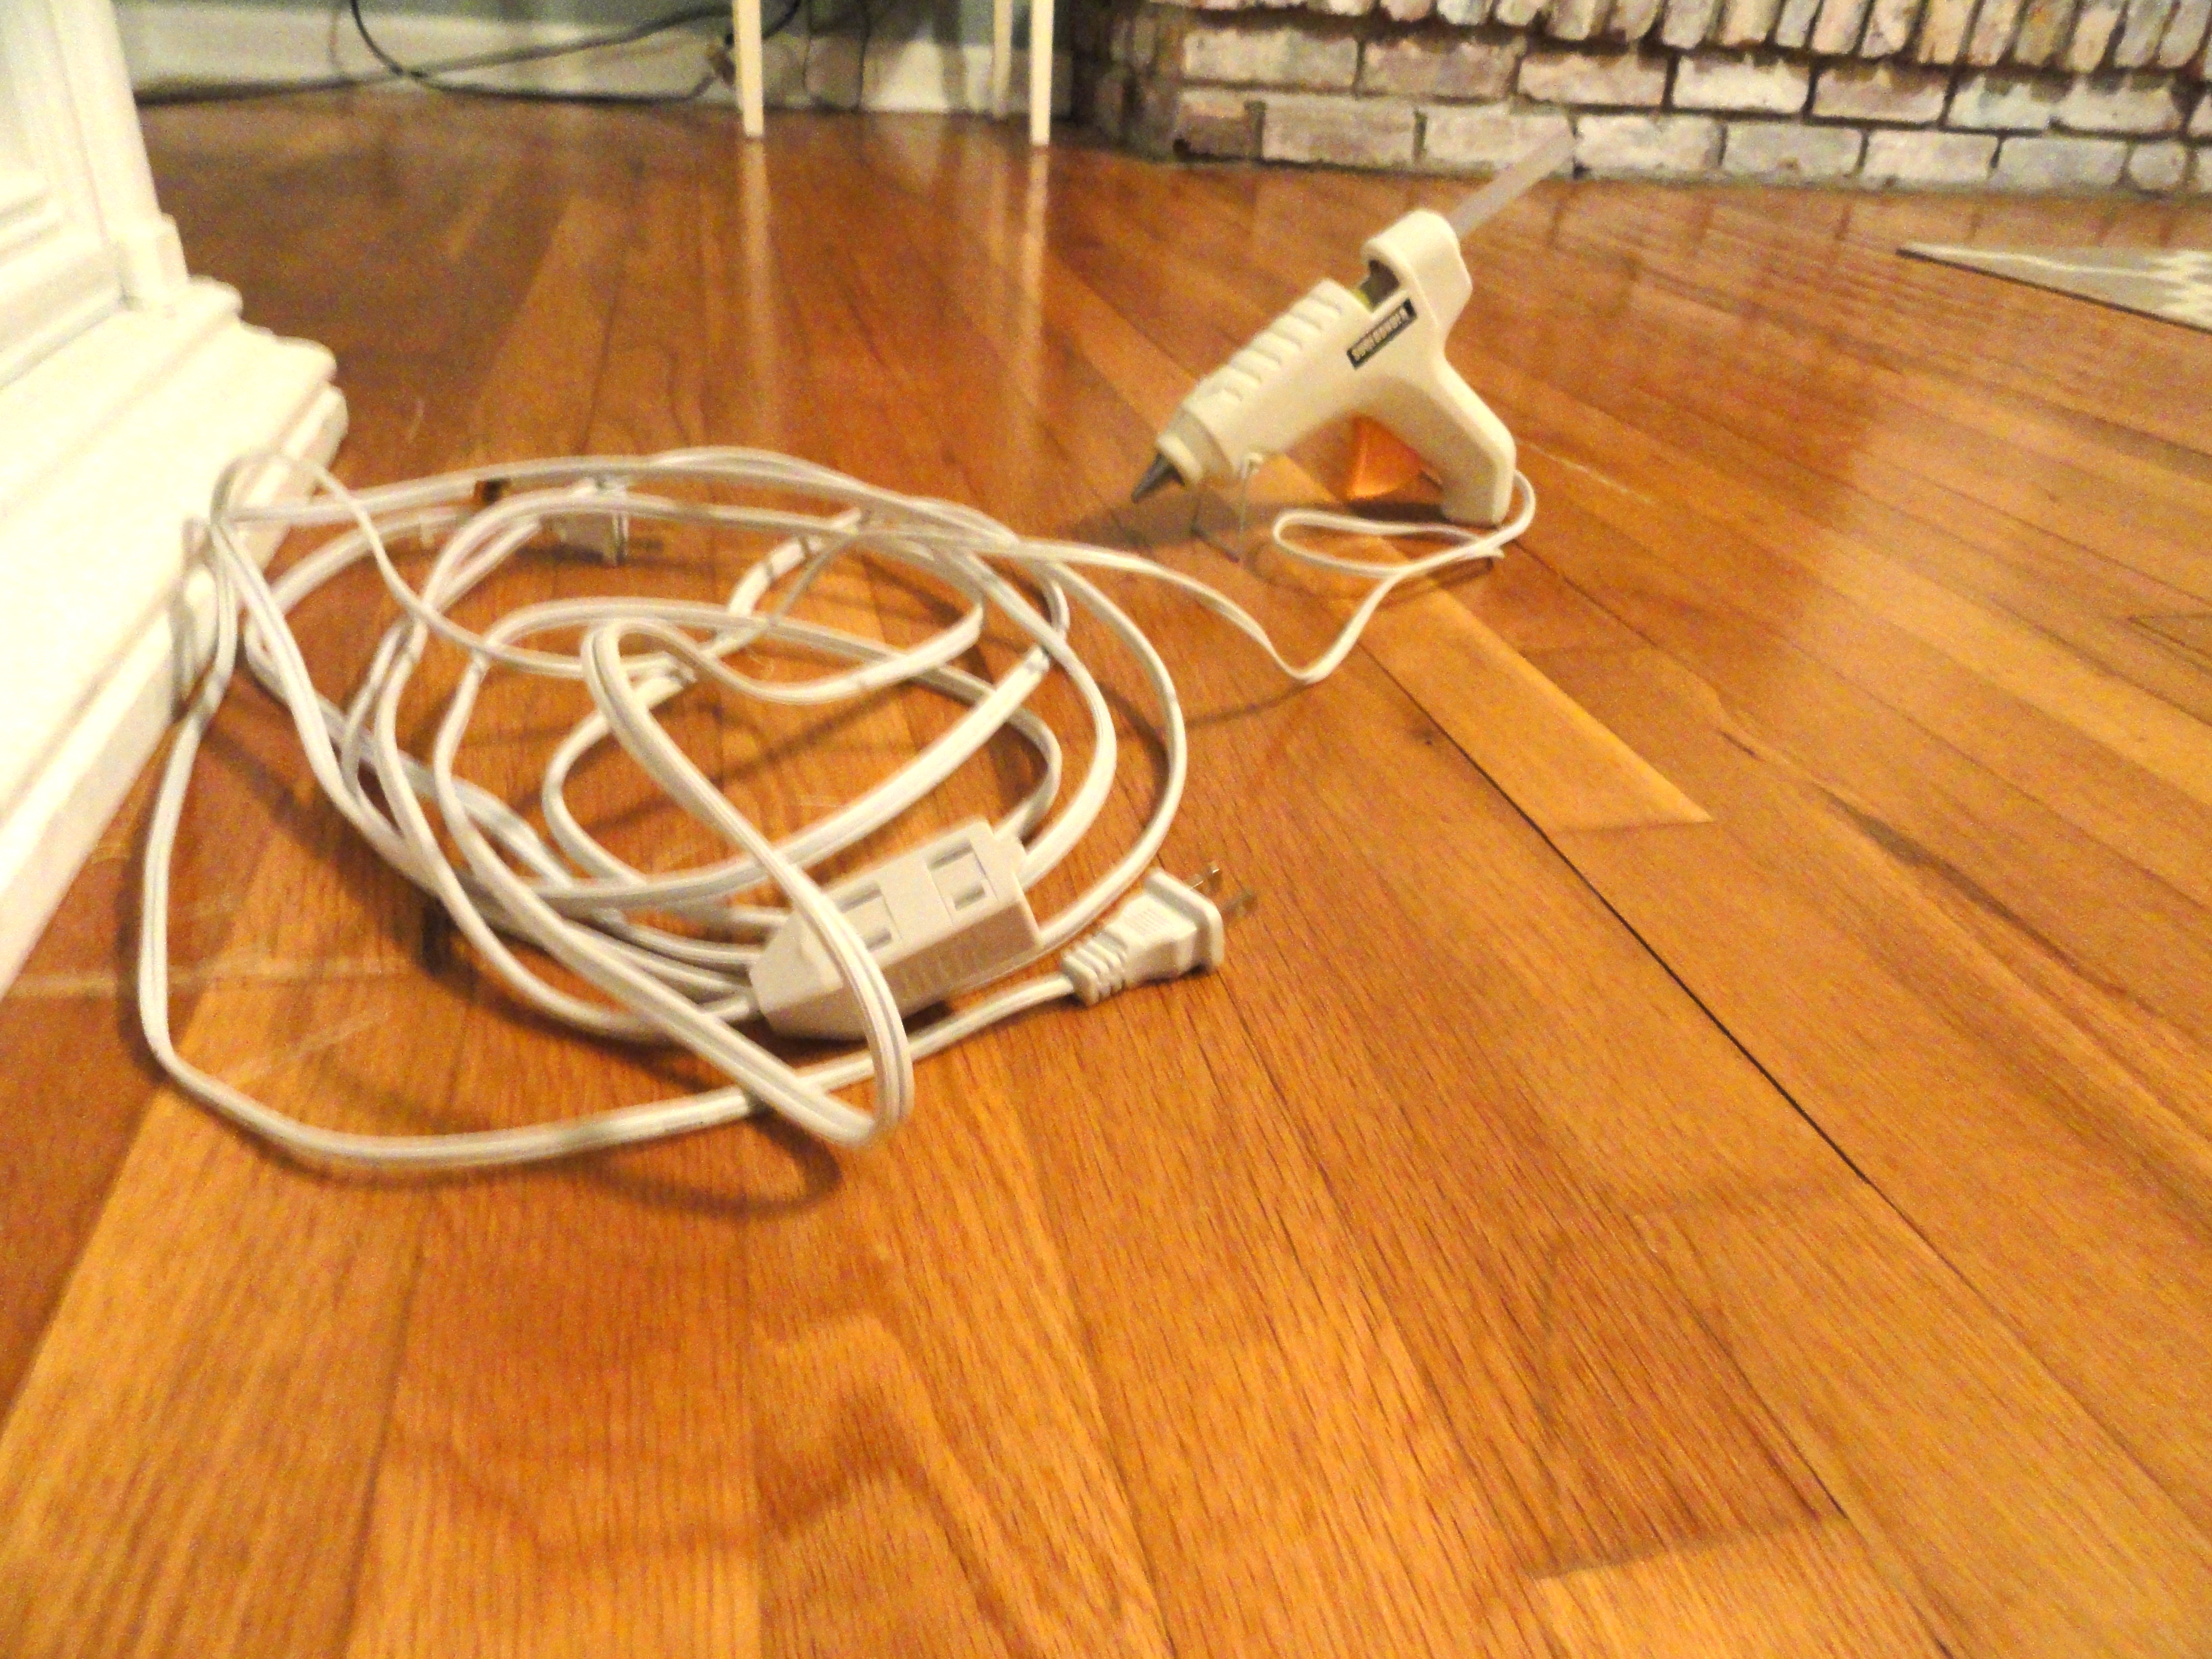
So after the drop cloth was all cut up, that left me with only 6 sides that needed hemming, since the outer 2 sides had the original hem. The tops and bottoms of each panel also already had the factory hem. I just sewed a little rod pocket at the top of each panel for the curtain rods. Honestly, if you wanted to go all “no sew,” a semi-finished look could easily be achieved with iron-on hem tape and hot glue. If you know me, you know I am a firm believer in the power of hot glue!

But I had the time to spare, so I hemmed the raw edges and added a 1/2″ rod pocket at the top of each panel.

image

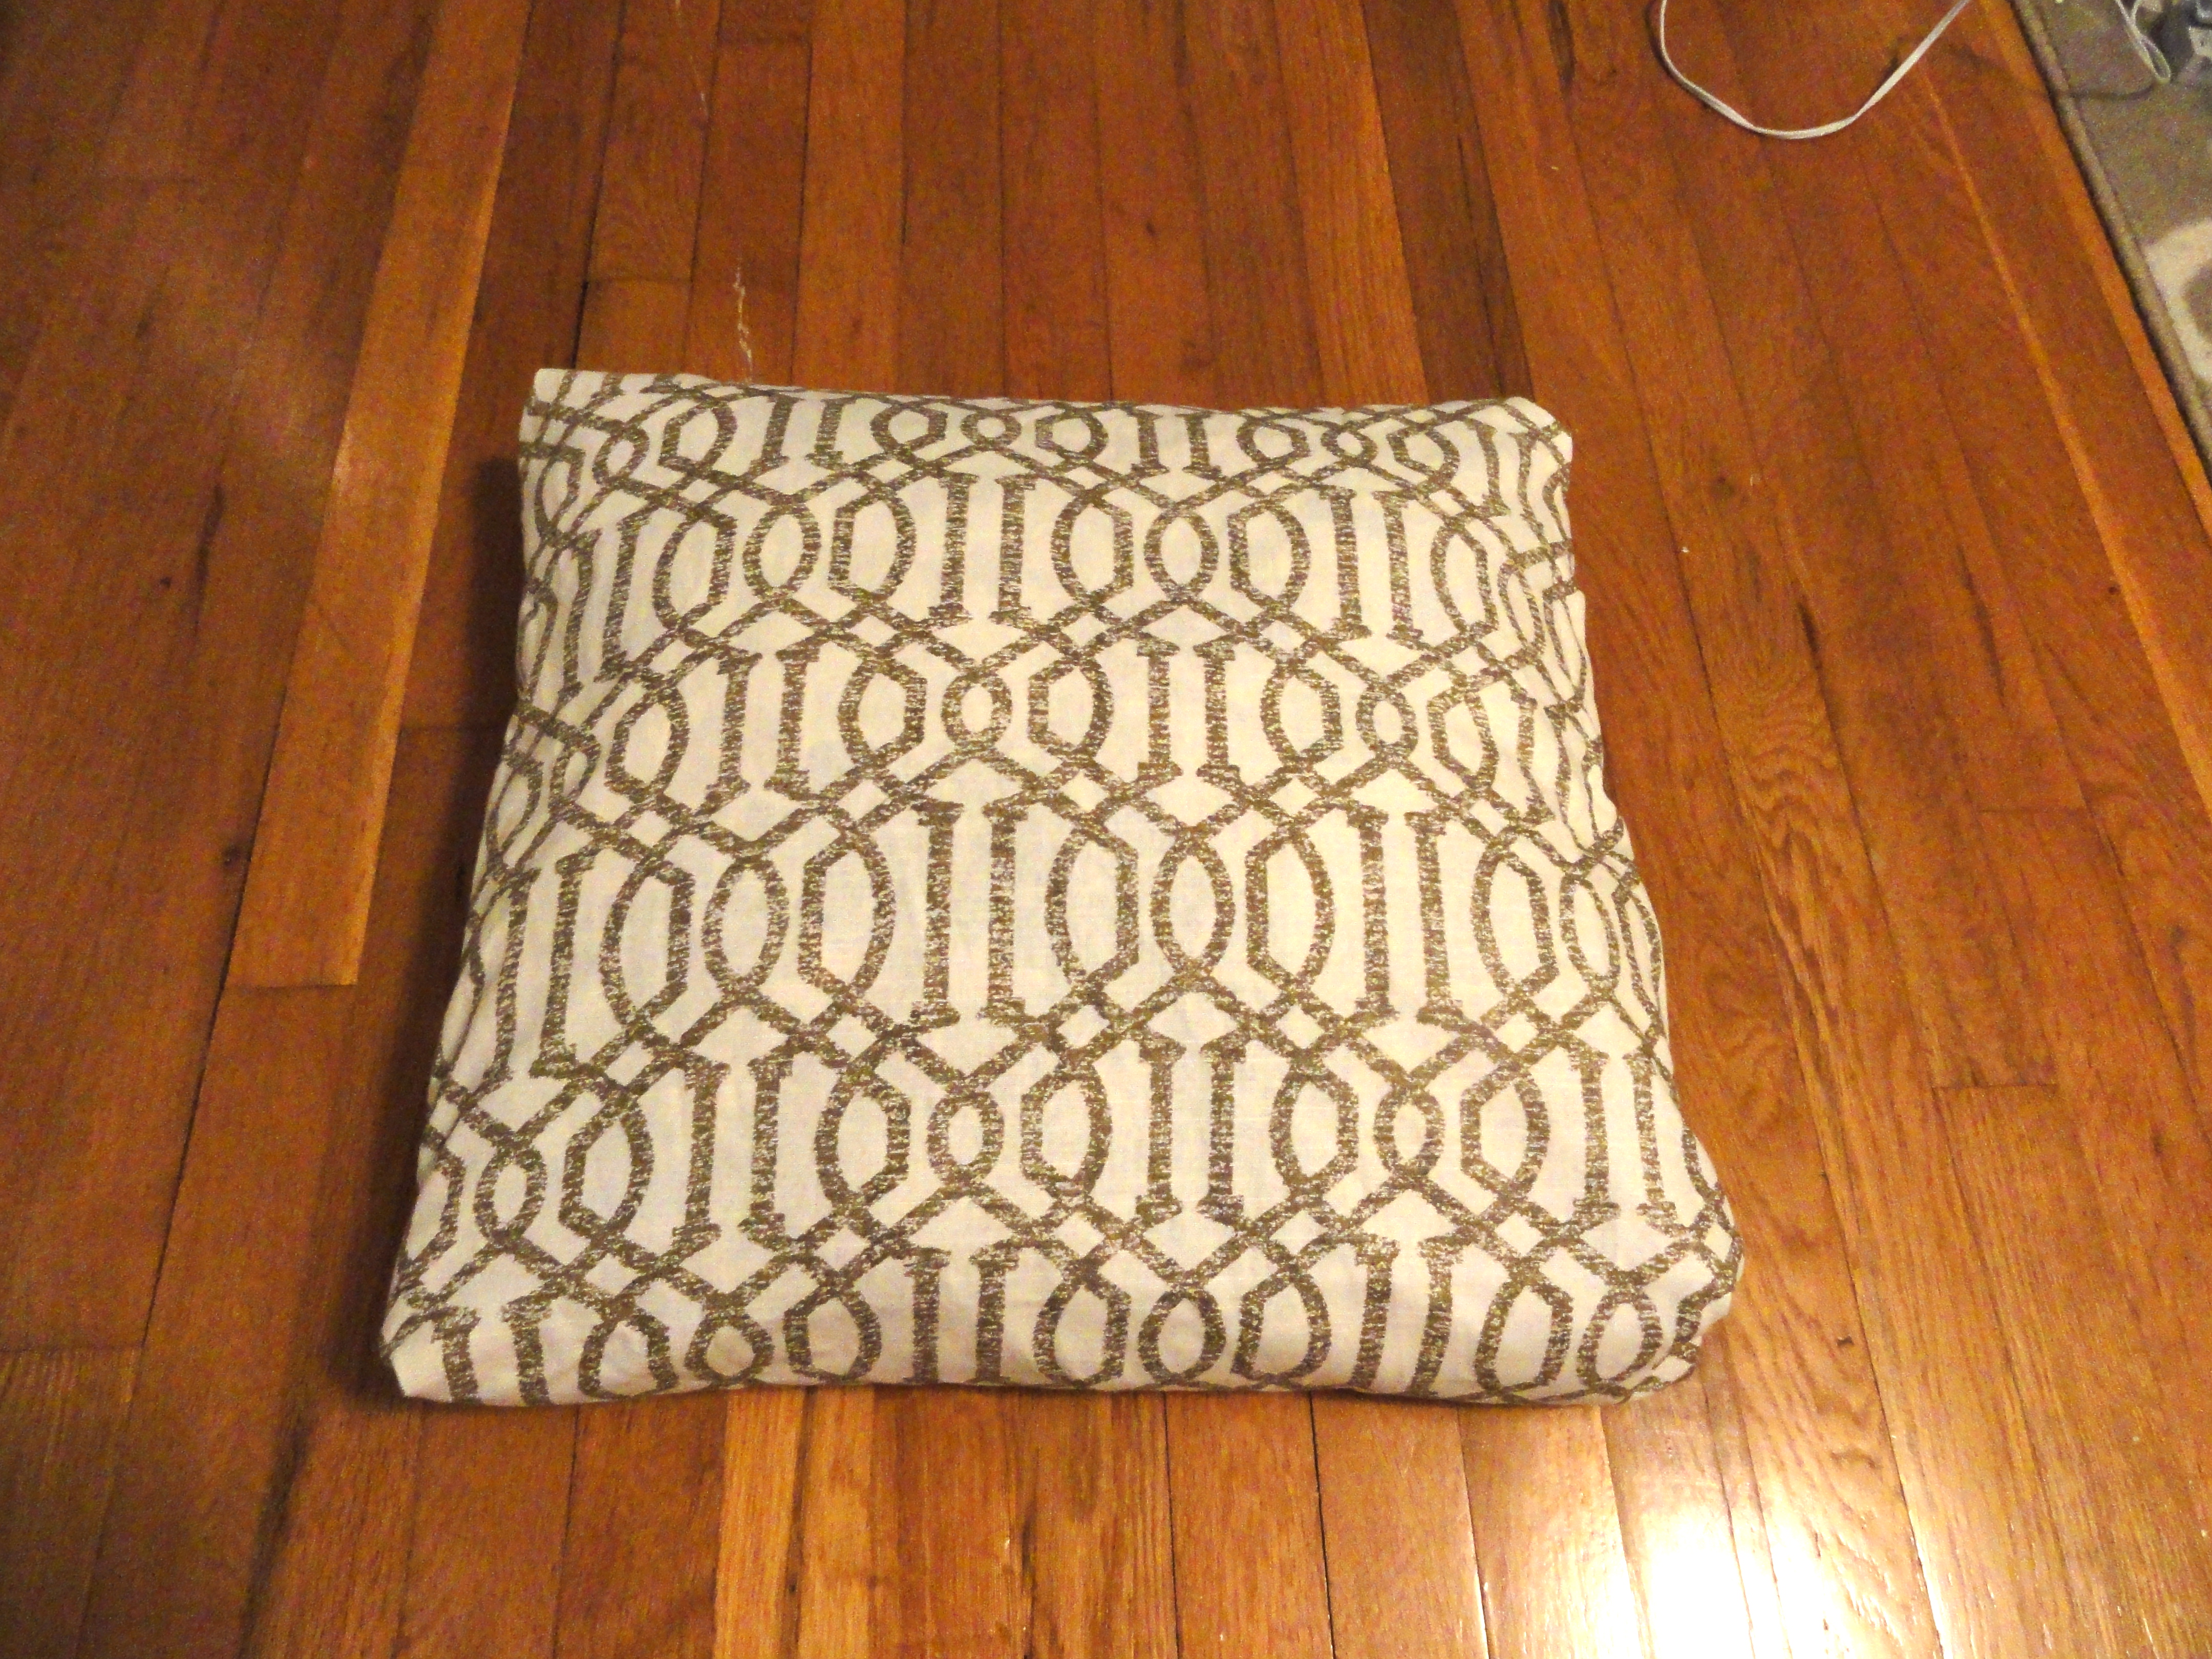
It’s kind of hard to tell from the photo below, but I hot glued a 27″ wooden dowel into the bottom of each panel to make a stiff base for when they are tied up. I could have used another rod pocket here, but the hot glue was quicker, and I figured once it was all bundled up you would never see that part of the panel.

image

Then I took dark brown grosgrain ribbon (which I literally 2 days ago learned is NOT pronounced “gross grain”) and created loops about 1 yard each. I know that sounds a bit arbitrary, but I basically took two 4-yard spools of ribbon and divided them each into 4 sections, 36″ long per section, by folding them half several times then cutting at the folds. (Whenever possible, I break things up into equal portions to avoid measuring over and over. That could either be really smart or really silly, depending on the circumstance.) Anyway, when the ribbons are looped over the curtain rod, the shades will hang about 18″ from the top (36″/2).

So here is what they look like with the loops hung over the rods before the panels are all bunched up. Don’t you love that didn’t even bother to iron the wrinkles from the packaging? I think it adds… “texture.” Yeah, that’s what we’ll call it!


image

Then, starting at the bottom, I folded up each panel trying to keep consistent folds that were about 4″ wide. Once I reached the bottom of the ribbon loops, I smushed the panel against the glass with one arm to hold it in place while I slid the ribbon loops in place.

image

At first, it looked sort of uneven…

image

So I went all perfectionista and messed with it until the folds were nice and neat and all lined up.

image

And here’s what they look like from the side…

image

And this shot was just to show my handy magnetic curtain rods… made for just for steel doors!

image

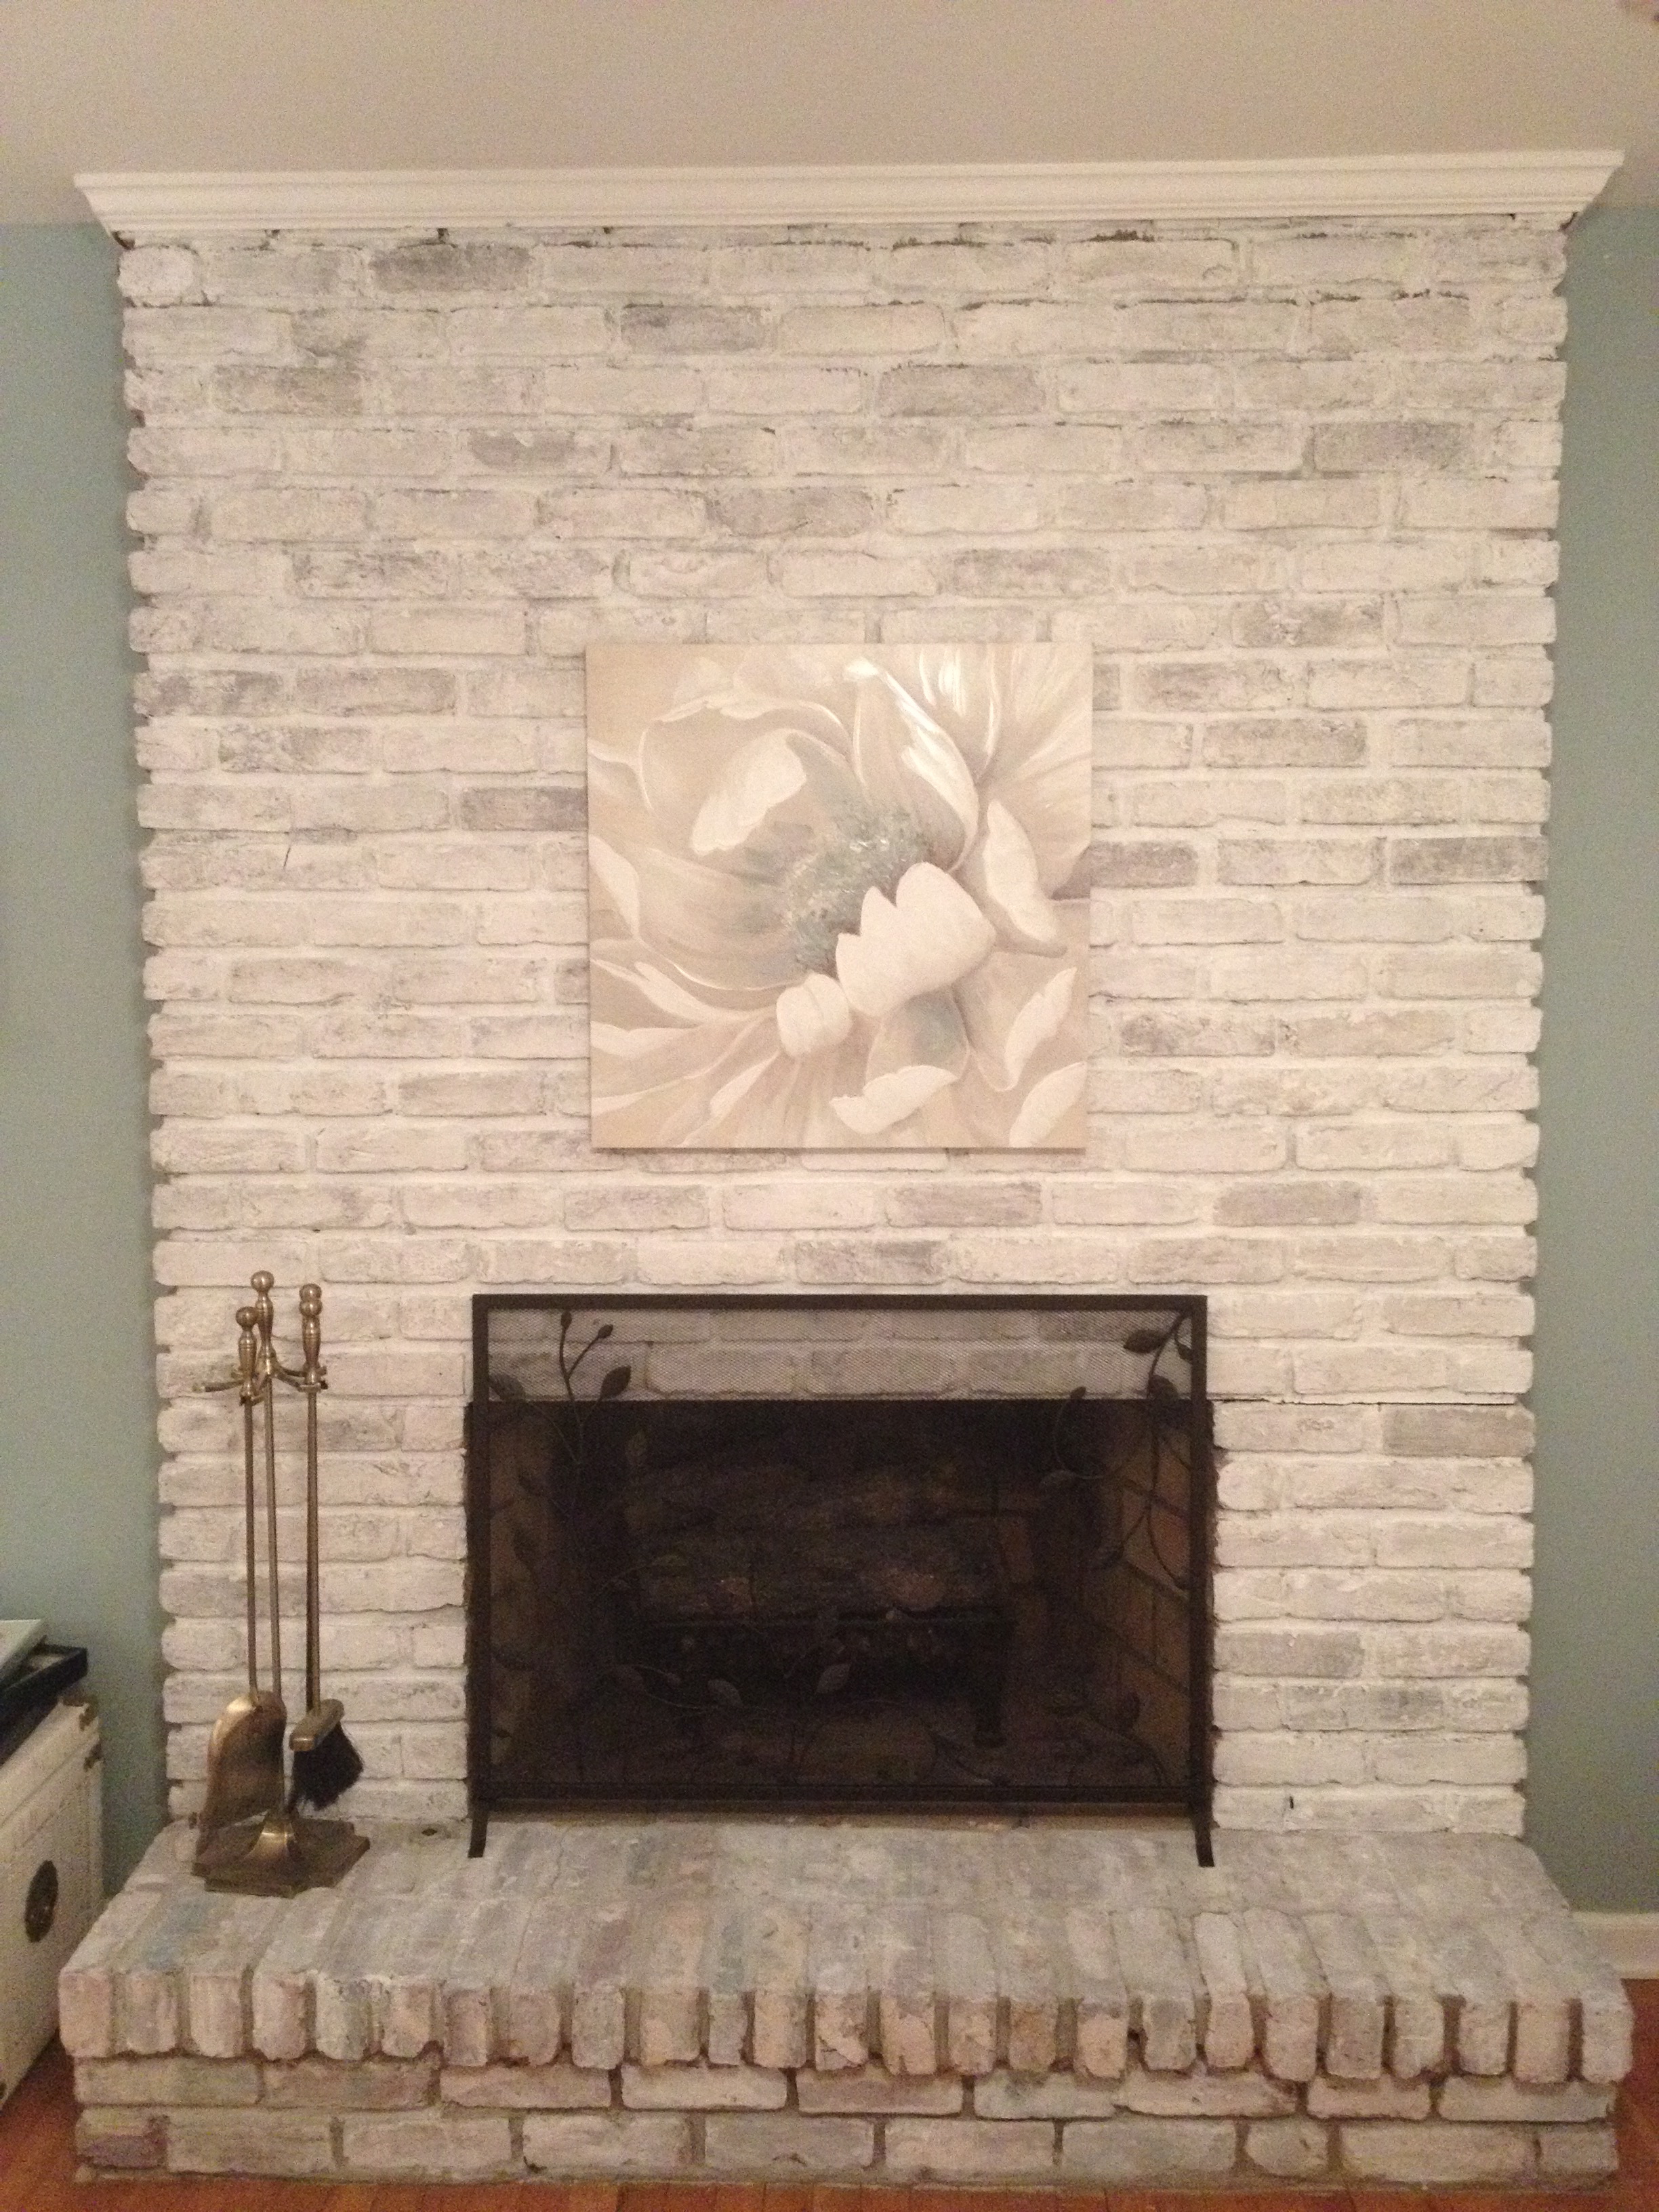
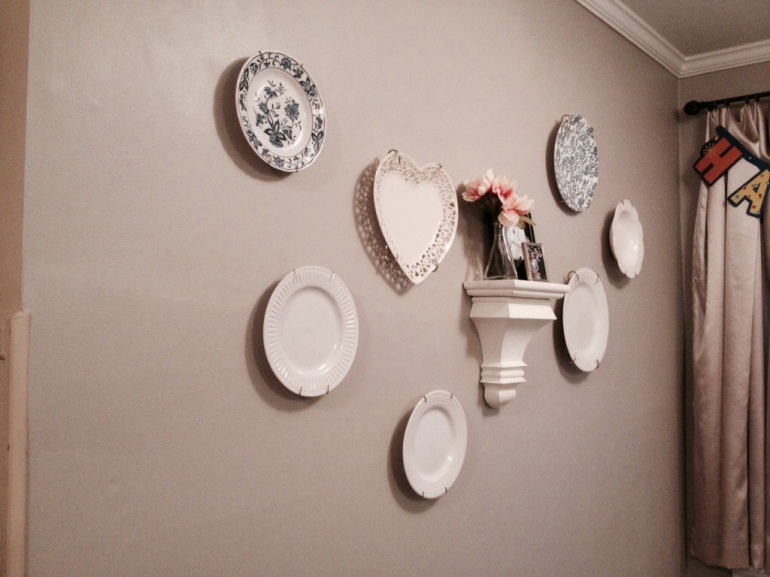
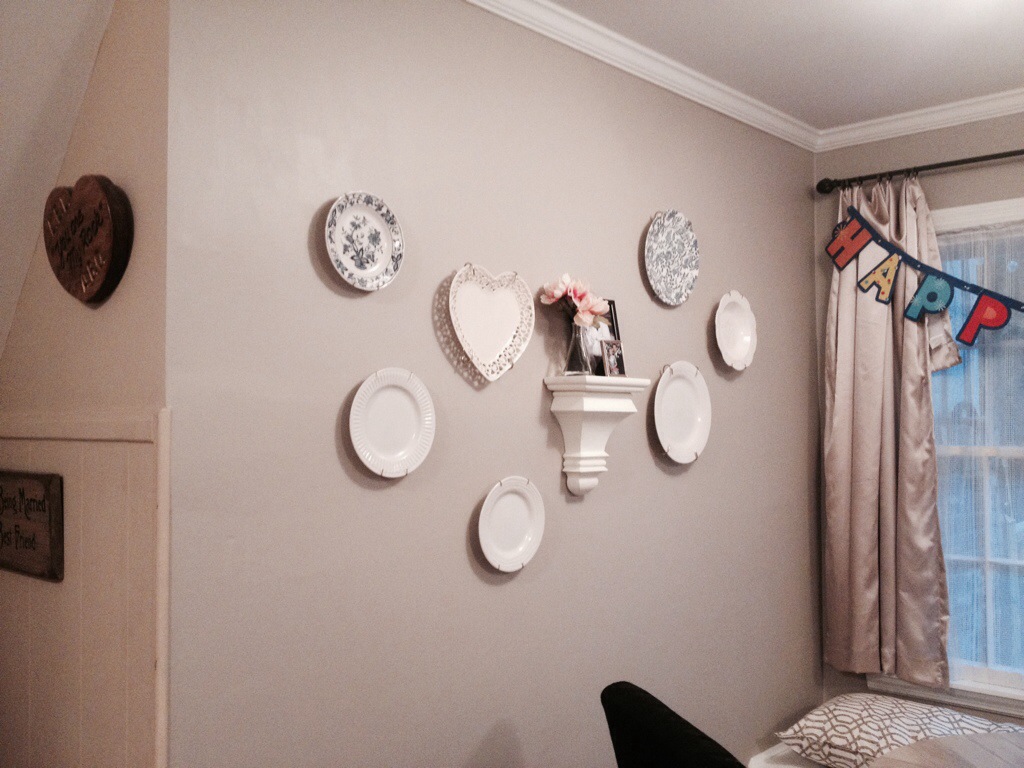
And this shot is just to show off the mantle shelf over the couch, which I love!

image

So what do you think? I feel like they turned out pretty decent for getting 4 “f’roman” shades for under $50… even with the crazy couch-in-front-of-the-door situation. Sort of makes the couch and shades look like good friends that just wanted to be extra close to one another!

image

So what about you? Have you broken any sacred design rules lately? I’d love to hear about it so I can steal your great ideas borrow fellow my rule-breakers’ genius solutions!

image

Until next time, I’ll just keep making it up as I go and getting creeped on by my own cat… 🙂

XOXO

IMG_6802

Hall Bath Update – The Details!

image

Brighter! Whiter! No longer the color of a peach crayon!

Over the Christmas break when I had some decent time off from work, I decided to start chipping away at the bathroom “fix it” list. There are lots of items on that list, but fortunately they are all cosmetic. I must say that I’m thankful to have a fully-functioning bathroom, even if it is in dire need of a makeover. 
image

I figured the easiest part was to paint the cabinet and mirror glossy white over the flat (yes, FLAT) peach color that was there before.

Now, I know you’re probably thinking… “Hey, don’t you think peach is sort of a weird color to paint a bathroom vanity and mirror?” Well I thought it was weird too at first, but then I realized, “But wait, the shower tile is peach… so it all MATCHES. It all makes so much sense now!” 

image

Peach colored tile… I’m sure this color was très chic in the ’60s.

Just kidding… the peachy color is SUPER weird! Or should I say… WAS super weird? Hasta la vista, peachy! The vanity and mirror look 100% cleaner and fresher now with a few coats of paint.

image

To dress up the very blah cabinet doors, I added lattice moulding to make them more “shaker style.” I had to do some pretty… “creative” wood filling on the rounded door fronts. Hopefully you can get the gist from the pictures below.

image

image

image

image

image

image

Once I was on a roll making over the vanity, I decided I had to rip out the “base tile” that went around the whole bathroom. What had happened was… I was painting the walls in a greige color that I knew I loved (Behr Sculptor’s Clay), but it looked totally strange. I couldn’t tell whether it was because of the lighting in that room or if it was just clashing with the peach-colored tile. So you see, I HAD to remove the tile before I could finish painting the room. Seriously, it seemed like the only logical thing to do.
image

Here’s my actual thought process, which was fairly logical (albeit brief). I measured the height of the tile and then measured the height of the baseboard in the hallway. When I saw that they were the same, I knew I could rip out the tile and cover the damaged part of walls with baseboard. If the tile had been taller than the baseboard, I would have had to go a different route – probably beadboard – to cover the damaged drywall.

Lastly, I attempted the faux granite painted counter idea I saw on Pinterest.
image
image

It turned out OK… but i will probably still end up replacing it with stone at some point. For now I’m just happy that it’s not creamy yellow anymore! Hooray!

Next, we are planning to re-tile the shower and add a jetted tub, but that’s a ways down the road. A nice new shower curtain will buy us some time by covering up that part of the room. 😀
image
image

I always say this, but it’s amazing what a difference a few coats of paint make!
image

Thanks for taking a peek at the work in progress!

Until next time,

image

Hall Bath Update Sneak Peak

image

Have you ever thought, “I need a change, like… right now!”? I certainly have – in fact it probably happens about every other week. Luckily, it usually involves paint and power tools rather than some sort of lifestyle overhaul. Or haircut. That would just be unreasonable.

But really, it seems like every few weeks I get a sudden urge to fix or change something around the house (which I can only assume is totally reasonable). If I think about a project too much, I tend to agonize over the details and end up with decorating paralysis, which is a real thing. So, I find I work best when I let myself be spontaneous. Spontaneous remodeling… that’s a thing too, right?

It is SO helpful to have a borderline out of control stockpile moderate stash of leftover paint, caulk, glue, rollers, and other necessary stuff when I decide something needs to get done RIGHT NOW. In other news, “helpful hoarding” is now also a thing.

Over the past couple of weeks I have:

  • Painted the mirror and vanity cabinet (glossy white – what else!?)
  • Added trim to the cabinet doors to make them look more “shaker” style
  • Painted the walls greige (over the previous yellowish-khaki color)
  • Ripped out the base tile and installed base boards
  • Faux painted the countertop (over the previous off-white color)

So with just a few days of work and at a minimal expense, we are well on our way to a fresh-looking hall bath!

I still need to re-tile the shower and replace the vanity light, but those will probably have to wait a while since they require purchasing materials and ripping out walls. I did everything to this point with paint and supplies that I had on hand — with the exception of the trim and baseboard, which I had to pick up at the hardware store.

The full post is under construction, so stay tuned for more details!

image

Pretty-fied Christmas Tree Stand

Hey gang! In honor of my New Year’s resolution to blog more often, here is a quickie post for you! I know it’s a little late to be useful this year, but hopefully you will flag it as a great idea for NEXT year!

This ended up being a perfect solution for us and our lack of a tree skirt since our male cat insists on… ahem… “owning” any scrap of fabric within his reach. That same problem also inspired the Roman shades seen in this post since our floor-length curtains had to go bye-bye. More on that later. 😉

image

image

That’s a $6 apple basket from the craft store  (I had to ask for it… they were using it on top of the aisle dividers to hold extra inventory).

image

I cut the bottom out with a jigsaw and then zipped the saw up the back to cut it open. I used a cedar shim to splay the basket open wide enough to cover the tree stand base. You can see it’s just propped in there somewhat precariously. I’ll probably staple or glue it in place when I take the tree down.

image

Next year I plan to use a skirt in addition to the basket… but I think it looks great either way!

I have to give full credit to pinterest and the pin / blog post that gave me the initial idea. Check out the link for more great Christmas decorating tips!

Christmas Decorating Tips and Tricks

Happy New Year!!

Blue and White Master Bedroom

Hey y’all! The good news is that I’m alive and not lost wandering aimlessly around some antique store. That was yesterday. The better news is that I finally (mostly) finished decorating our master bedroom and it now has the warm and soothing feel that I was going for.

So let’s cut to the chase and get straight to the before and after pics. That’s what we all really care about anyway, right?!! (I know I’m not the only one…)

Before: Original brick fireplace and sage green walls

IS-1r98nlcgvh74tAfter: Painted fireplace and green/blue walls.

For the curtains, I used one blackout panel per window… they are awesome to draw closed on a Saturday morning, or for an afternoon nap! This picture was taken at night so you don’t get the great natural light effect…. sadly.

IMG_9487

I added shelves on either side of the fireplace to broaden that focal point. Target had cute ones… 2 for $24.

At first, I went opaque white on the fireplace and then was all… “OH NOOOOO… WHAT HAVE I DONE?” It. Looked. Terrible. Stark white. Loudly white. I proceeded to walk away from the job for approximately 3 months. (See how that sounds more calculated than “I panicked and ran the opposite direction”?) Then one day I woke up and realized I could faux paint some dimension back into the brick, which is exactly what I did. Here you can see the “mid-point” where I had just started adding the faux paint to the left side on top of the solid white.

IMG_8229

Looks way better, right? The full after is below. The blossom painting was another Target find. You may or may not be able to tell, but the colors are identical to the paint colors in the room so it just subtly blends in, which is what I wanted. Eventually we’ll add a mantle, but for now this was a quick and inexpensive way to break up the solid wall of brick. The fireplace is gas but the plumbing was cut before we bought the house, so that will become decorative at some point in the near future. (Think candelabra instead of gas logs and screen.)

IMG_9488

And here’s how I hid the ugly “command center” for our wireless router and cables:

IMG_9027

I had to cut a 1×2″ hole in the bottom of my wicker chest to accommodate the cords, but I figure if I ever need to patch it the hole will be in a pretty inconspicuous location.

IMG_9022

I planned out where I want the wall art over the TV… now just have to hang the actual pieces! It’s amazing how adding the elements above the TV draws your eye upward and makes the wall seem fuller.

IMG_9074

This dresser was a $50 find at Goodwill, which I painted white and blinged out with a mosaic mirror feature on the doors. The before pic is amazing. No wonder my husband was horrified when I told him it was ours! (Also, it weighed about 500 lbs and had been kept in someone’s storage unit for years, so it was filthy.) Nonetheless, it was my very first furniture makeover adventure, after which I realized I was hooked for life. I just will never get over the difference that a couple coats of paint make.

IMG_3313

IMG_9485 IMG_9484

So, back to the bedroom… check out the silver painted “stump lamp!” (The designer would probably be horrified at my utterly unsophisticated description!) It was a splurge at $50 from Homegoods.

IMG_9071

The floral arrangement on the left is an awesome mix of hydrangeas and BARLEY, of all things! I just love its bright green and spikey texture… plus the element of surprise. Who ever sees barley outside of a light beer commercial, really? I love it much more as it’s used here. Have I mentioned how modest I am?

IMG_9490

And one more pic of the bed wall, for good measure:

IMG_9043

So that’s that! I love the new, soothing space and pulled it off for a fairly reasonable price. Details below.

  • Dresser/TV stand – $50 plus $20 for refinishing supplies
  • Mirror over bed  – $50 at local antique store, but originally from Beall’s outlet
  • Bed frame – $400 at Sears online
  • Night stands – Ikea Hemnes 2 for $100 on Craigslist but $70 each in store
  • Bedside lamps – $12 each at Walmart
  • Lamp – $50 at TJ Maxx Homegoods
  • Green arm chair – $12 at Goodwill, like, 5+ years ago. (Thanks to my brilliant Aunt Laura who once told me to NEVER get rid of anything usable. My husband hated that chair in our old apartment, but in the new master, it just works!)
  • Trellis rug – $120 at Target
  • Shelves – $48 for 4 at Target
  • Blossom art – $30 at Target
  • Paint: Behr Watery
  • Floral arrangement – 4 pieces for $20 at Michaels. That stuff is more expensive than you would think!
  • Giant “jar” vase – $12 on clearance at TJ Maxx. What a steal!

Hope you’ve enjoyed… and I’m just happy to check one more box on the road to “decorated.”

UPDATE: I finally hung some frames and took down the templates!
image

image

image

Now I just need to add some pictures to the frames. (You may have noticed by now that I’m a big fan of baby steps.) 😀

One of my favorite parts is the gorgeous shadow box that my bestie Jess made me for our wedding. It’s just perfect there! And the white canvas was my gift to my husband on our second anniversary (cotton). It has the pencil-drawn lyrics from our first dance song: “You are the best thing that ever happened to me.” I think it belongs here. ❤

XOXO

20130930-132124.jpg


Kitchen Wall Decor

I know what you’re thinking… “Plates on a kitchen wall… isn’t that just TOO obvious?” Maybe, but it’s also “pretty and practical,” and that’s what this blog is all about! Plus, I like to think the random corbel in the middle adds a little something unexpected.
20140727-221008-79808961.jpg

This morning I was getting ready for my husband’s birthday barbecue when I noticed a scratch (or more accurately, “gouge of suspicious origins”) in the kitchen wall. Who knows which piece of heavy construction equipment that’s been steadily trickling in and out of the house actually caused this damage. Not that it matters… but what DOES matter is that there are people coming over today and they will all be standing around with nothing to better to do than stare at this humongous scratch in my otherwise completely blank kitchen wall! Right!? OK so I get a little carried away sometimes… there is no way anyone would have noticed that mark with all the delicious food and yard games going on. But I decided a year is a long enough time to wait to decorate the kitchen wall and figured “there’s no time like the present!”

For the record, I think some people get the idea that I’m “effortlessly” creative, but sometimes it just feels compulsive. Like, I have to do it and I have to do it RIGHT NOW!

So, instead of, I don’t know, say, prepping food or doing anything else more pressing, I went and picked through my collection of mismatched dishes and got to work laying out an arrangement. And thank goodness I had a handful of little plate hangers, too!
20140727-221429-80069610.jpg

First, I laid everything out on the ground to see how I wanted it all positioned. The wine bottle was a placeholder for the little shelf that I wanted to use but hadn’t yet tracked down.

20140727-221630-80190768.jpg
I took this picture primarily to give myself a point of reference for how things needed to go on the wall. I ended up referring back a bunch of times. I hung the shelf first, right over top of the scratch, then hung all the other pieces around it. Even though I had laid it all out on the floor beforehand, Adam still had to do a bit of patient plate-holding in various positions while I stood back and assessed the layout to be sure it looked OK.

20140727-222029-80429704.jpg

Pretty cute quick fix for a bare wall, don’t you think? I don’t know if it’s my “forever” kitchen decor, but for about 15 minutes of work I think it’s definitely a look that I can live with for a while.

Happy hanging!

20131010-172150.jpg

Chevron Sewing Table Update

After a year in our first home, the kitchen remains a bit of a challenge. The biggest update so far was getting rid of the huge pub table that was built in to the counter top, which I removed and replaced with a window seat with lots o’ storage. That got us part-way towards my goal of designing an eat-in area for our super-tiny very cozy 60’s ranch kitchen. I knew I would need a small-ish pedestal style table to accommodate the window seat setup. I had been contemplating building one from scratch until…

Finally, y’all! I just found this amazing table at my favorite-of-all-favorites antique store… woo! (Better yet, I sent a courtesy a pic to the husband, and he loves it too!) Woo-hoo! laminate top table before Cute, right?! This table has a lot going for it (including a fully-operational foot pedal that Adam wants to rig into some sort of possibly dangerous, high-performance lazy susan) but let’s be honest… the top is kind of weird. It’s laminate, but not your average furniture-grade “trying to look like wood” laminate. It’s more like kitchen counter-style laminate, which is a weird look for anyone who’s not a kitchen counter. (And truly, kind of weird for them as well.) It’s almost like the top was repurposed from a restaurant table or something. Kind of sterile and, well… not-so-pretty.  I asked the lady at the checkout if she would consider selling me just the base… but she was much too smart for that. (I can only assume she didn’t want that weird top laying around, either!) And it’s a good thing, because original my plan was to go straight home and build a new table top from scratch using various wood scraps from the garage. But when she politely suggested I “find a way to dress it up” when I told her I wasn’t crazy about the top, I was all, “CHALLENGE ACCEPTED!” 

I decided it’s just the right kind of quirky with its sewing table base and modestly-sized top. My sweet husband helped me get it into place in the kitchen and it fits just right! Of course, Murph Cat had to come investigate immediately. He is violently shaking his head in this pic, which is why he looks a little poltergeisty. laminate top table before in kitchen So instead of making a new wood plank top, I decided to work with the one I had by painting it. I started by sketching out a pattern. Try not to be intimidated by my super advanced drawing skills. table pattern sketch Impressive, right? Now you see why I am a graphic designer by trade.

Then, I prepped the surface by sanding it with a 180 grit disc on my orbital sander. I had to remove the top and ROLL that sucker outside. No joke, it probably weighs at least 80 pounds. sanding laminate top with orbital sander I also took the important step of snapping a safety-selfie. I ALWAYS wear a mask when sanding! safety maskOnce I had sanded off the finish, I applied 2 coats of Zinsser primer (not shown.) Then, the real fun began. Who knew this would require advanced geometry?! finding the center of the table top Clearly, you can see I had some trouble with my measurements and markings. For the record, it is SO hard to find the center of a circle! It occurred to me only afterwards that the proper solution would have been to trace the entire top onto a piece of paper, cut it out, and fold it in half twice. Oh, so NOW my brain decides to start working! But that’s OK… the trial and error method works, too. Once I had the table top divided into quadrants, I grabbed a 1×4 board (about 3 feet long) from the garage and cut one end into a 45 degree angle to use as a guide for the pattern. (Sorry, not shown, but you’ll get the idea.) painting faux wood planks on the table top Note the very professional paper plate paint palette. Clearly I take my work very seriously.

At last, the fun part! I took some greige (Behr Sculptor’s Clay) wall paint I had left over from painting our master bathroom and mixed it with varying amounts of black-brown acrylic art paint. I grabbed different shades of paint to create a wide range of gradients. I applied the paint with a 1″ sponge brush in long strokes to create a wood-grain type effect. The intent was never to look realistically like wooden planks… but just to give it that sort of feel. faux wood planks painted on table top At first I left the outlines partially white so I could fill with the darker brown later (thinking, “shadows suggesting gaps between the planks”), but I ended up going back in and spongeing over them after I saw that the color striations created enough definition of their own.

HOWEVER… that all changed when I came back the next day and realized that my Sharpie lines had “eaten” through the paint and surfaced back to the top like some sort of paint-resistant zombie ink. I had to paint over all the lines the next day after all. Mental note: NEVER use a Sharpie to draw paint lines. That stuff is weird-strong! sharpie line bleeding through paint and poly Luckily, the end result is still pretty sweet looking. I’ll show you both possible results… before and after the Sharpie debacle. finished plank table top without sharpie showing through finished plank table top with border linesNot gonna lie… I tend to think it looked better “before” when the pattern was more subtle and before the zombie Sharpie came back to haunt me. But what are you gonna do? I suppose the brown lines are better than the weird purply-blue ones that the Sharpie left behind/beneath/on-top-of-everything-important.

So at the end of the day, I still think it looks pretty good. I had to make some compromises due to poor material selection on my part, but that’s just the way it goes! I think it’s much better than where we started, anyway. And when the paint and poly fully cure in about 2 weeks, I will finally have my first official casual, comfortable meal in the kitchen!

UPDATE:

Two days later and I am still having to go back and paint over some of the Sharpie lines in certain areas and then add another coat of poly. Apparently, this was a really blonde thing to do, because so far no one has had any sympathy for my plight and seems to think it’s ridiculously common knowledge that paint and Sharpie don’t mix. (“Lindsay, you’re telling me YOU didn’t know that? EVERYONE knows that!”) Well somehow I managed to survive 20+ years of crafting and painting without this ever becoming apparent to me… but I will certainly never forget! Truly, I can just feel myself getting smarter with every dumb mistake. 😀

Thanks for reading!

XOXO

20130930-131926.jpg

Super Quick No-Sew Pillow Covers

Ah, the thrill of instant gratification! The trouble is, “instant” usually also means “thrown together,” but if you’re OK with that sort of thing once in a while, it just adds to the fun. If you like quick makeovers and hot glue and believe that “C’s get degrees,” then this is the perfect project for you. On the other hand, if you like straight edges, lasting quality, and general perfection… well, I hope you’ll look the other way. This project requires: existing pillows in need of a makeover, scrap fabric 3x as long and just over 1x as wide as your pillow, hot glue, and a hot glue gun. Oh, and 10-15 minutes of semi-uninterrupted work time. Pillows Before So I think I had buyer’s remorse about these “medallion” pillows pretty much from the moment I left the store with them last year. On top of everything else we needed for the house at the time, pillows seemed like a surprisingly expensive luxury. (Side note – there must be some sort of “pillow makers’ union” that I have not been informed of, and that artificially inflates their prices, because I’ve seen pillows that you would think were comprised of golden fleece stuffed with unicorn hair… but I digress.)

Anyway, when we first moved in last year, the living room looked cold and bare without accent pillows, so I broke down and hurriedly bought a 2-for-1 pack at an outlet store and called it a day. I was over the pattern almost immediately. Not that there’s anything wrong with it, necessarily! I do love the colors… but it’s just overall a little too bold for my taste, which has a more neutral, rustic-glam lean.

Fortunately, I was addressing a potential hoarding situation cleaning my craft room today and came across some scrap fabric left over from a failed but valiant attempt at making my own Roman shades. It was totally one of those “Pinterest fail” incidents that you hear about. I really tried… I mean, I went so far as to hang them up! They just looked incredibly DIY once they were up there, which is sort of a HUGE “no-no” in the land of DIY-dom. One of those, “a magician never reveals his tricks” kind of things. I think I’m officially off-topic. Anyway, I tossed the whole gluey, mini-blind-skeleton mess and kept the scrap fabric, which had been a Target tablecloth in a previous life. Just wait ’til you see the fun pattern! No sew pillow cover This was the shape a size of my fabric. No cutting, no nothing. I laid the pillow on top of the scrap fabric strip, and as luck would have it, it was just barely wide enough and plenty long enough to cover the pillow. I played with folding it a few different ways before I found a method that allowed me to cover all the sides. I figured with some hot glue (a.k.a. greatest craft supply EVER), I could finagle it all into place and then tack it in a few spots. It ended up being a lot like wrapping a present… especially if you are trying to wrap a weird-shaped present with too-small wrapping paper and are feeling a little deliriously desperate to make it work. We’ve all been there. (I’m looking at you, Dad! That gift-wrapped jumbo popcorn tin will go down in history as the funniest wrap job, ever.)

OK so here’s the low-down on how I made the easiest pillow cover known to – well… just me I guess. (And I finally took pictures for once, y’all!)

Step 1 – Fold the fabric over one side.

no sew pillow cover step 1

Step 2: Fold other side to an appropriate length and into a slight taper

no sew pillow cover step 2

Step 3: Fold second side over and tack in place with a little dot of glue

no sew pillow cover step 3

Step 4: Play with folding the open edges (like a present!) and tack them with a little glue every few inches

no sew pillow cover step 4   no sew pillow cover step 4

Step 5: Step back and admire your handiwork. The “front side” looks pretty decent!

no sew pillow cover step 5   front side You can see above that depending on how I folded and glued the corners, some turned out pointy and others turned out more rounded. I ended playing with them some more to get them to look a little more uniform. Plus, once I threw them back on the couch, all inconsistencies were forgiven!

Step 6 (optional): Repeat with other pillow

no sew pillow cover How about that? Looking nice and neutral! no sew pillow coverOK so you can definitely see the folds along the back if you look at the pillows from the side… but for about 10 minutes of effort, I am fine with it. And, since I used such a minimal amount of hot glue, if I ever decide to change these pillows again, I can totally salvage this fabric to use for something else. There’s always a “something else.”

I’ll admit the folding process was a little tricky on the sides where there wasn’t much margin – not a task I would recommend for the easily-discouraged-newbie-crafter-slash-perfectionist. I just did the best I could and figured I wouldn’t see the back and sides much so they didn’t have to be exact. (Also, there is a certain amount of freedom and serenity that comes from knowing you are completing what “should” be a sewing project with naught but scraps and glue.) There’s really no way to permanently mess this up! Just try, adjust, adjust again, and if all else fails, start over. No harm done!

PS – As I’m writing this, my husband just came home. He says, “Honey, you got new pillows…? Nice!”  I. Am. Beaming.

Bonus feature: For those who don’t know me, THIS is my idea of a hot glue gun: fully loaded and complete with a 15-foot extension cord. Because I don’t like to be tied to one corner of the room when I’m slingin’ hot glue! glue and cord

Extra bonus feature: For another quick and easy update idea, check out this brilliant no-sew ottoman recovering project over at Found This, Painted That:

Quick Ottoman Makeover

Thanks for reading, and happy scrapping!

20131010-172150.jpg

Beachy Bath Update (Adios, Istanbul!)

Our cute little half bath gets a lot of use since it’s right off of our downstairs den / living room. It was in desperate need of an update from its builder’s grade plate glass mirror and whacky hookah-lounge-style pendant lights. It truly felt like you were ducking into a Turkish restaurant every time you went to use the bathroom. (Sadly, I don’t have pictures, but those pendant lights were actually fully enclosed lanterns before I removed the bottom halves!) It was so dark and gloomy! And for such a small room (just 42″ by 6 feet), that was just a sad state.

Here’s what it looked like before it got a makeover (but after I removed the original mirror and added a smaller oval one):

Don't you love the lighting?

Don’t you love the lighting?

The mirror came off first, and I found some really hideous colorful floral wallpaper underneath. My sweet husband helped me pick out a new light fixture and we got the mirror from a family member for free.

The ceiling had some peeling paint around the AC vent from condensation damage. Covering it with tongue and groove pine planks was a perfect solution for both the peeling paint issue as well as the holes left after removing the lovely pendant lighting.

Peeling paint be gone!

Peeling paint be gone!

The planks were fairly easy to hang using a little electric nail gun. If I did it all over again, I might consider using some Liquid Nails to help the planks stick better in areas where the ceiling wasn’t perfectly flat. I made sure to stagger the ends of the planks so that none of the seams were next to each other. And luckily the bathroom is right off of the garage so I could easily run back and forth to make the cuts using my table saw.

All done!

Tongue and groovy, baby!

I was planning to paint the newly planked ceiling a glossy white (like everything else I paint) but after one coat of primer, I was pretty much over it and decided that the see-through primer coat looked “beachy.” Theme selected… totally on purpose! (I lie… not at ALL on purpose. Total happy accident.)

Added a little primer and some painted quarter round to finish it off

Added a little primer and some painted quarter round to finish it off

In my near constant quest for perfection, I was also dead set on filling all the little nail holes. It’s amazing how a long drawn out unfinished project time makes you a little lazy helps you embrace life’s little imperfections. I figured no one cares about things like tiny nail holes when they are relaxing with a fruity drink in their beach-themed bathroom.

Don’t think too hard or long about that… the intended visual falls apart almost immediately. Who drinks an umbrella drink in a bathroom? That’s just weird.

Anyway, there’s lots more to look at now than the ceiling!

Lots of little holes to add to the "laid back feel... right?

Lots of little holes to add to the “laid back” feel… right?

I had some FABULOUS (and free) paint from a bad mix job at the hardware store. When I returned to the store and showed them that the color was way off, they kindly mixed another can of what I actually wanted and told me they couldn’t take the “bad” color back so I might as well keep it. It’s by far the BEST “bad color” I’ve ever seen! It’s actually very close to the color in my bedroom, which is Behr “Watery.” Throw in a few seaside accents and a rope-y looking rug, and call it finito!

Beachy and bright!

After… beachy and bright!

Crane figurine from my favorite antique store, coral from Beall's Outlet

Crane figurine from my favorite antique store, coral from Beall’s Outlet… shelf and orchid from Goodwill!

I got this from Target on sale... I thought it looked like rope and fit the beach vibe perfectly. Just love it!

I got the rug from Target on sale… I thought it sort of looked like rope and fit the beach vibe perfectly. Just love it!

Here's what it looks like when you walk in from the hall. It says "Come on in, the water's fine!"

Here’s what it looks like when you walk in from the hall. It says, “Come on in, the water’s fine!

When I first started this project, I desperately wanted to get rid of the original 1960s vanity. I bought a pedestal sink off Craigslist and a shiny new faucet to go with it. It was then that I found out that you can’t just swap a pedestal sink in place of a vanity because the drain and water lines are roughed in differently…. so that’s another project for another day. For now, I’m learning to embrace the gold-flake formica in all its subtle, sparkling glory.

How you like me now?

How you like me now?

This project took a few months from start to finish because I worked on it in fits and starts with a dozen other projects in progress at the same time (as usual). I probably could have gotten it done in a weekend or two if I had been able to focus a little more! Major props to my friends and family who were brave enough to venture into this room during the long in between phase.

Thanks for reading… and happy beach-ifying!
IMG_6802

Kitchen Window Seat with Storage

This project has been on my mind literally since the day we first toured our home. (Can’t believe that’s been a year ago already!) We knew from the start that we would need to resolve the layout and storage issues in the kitchen. The previous owners’ solution was to construct a massive built-in pub table off the side of the countertop. It provided a ton of great storage space behind its hidden doors, but ate up entirely too much room in an already cramped space. After 9 months of contemplating its demise, we finally went for it.

Since I’m terrible at taking step by step pictures, I won’t attempt to make this in any way instructional. But it’s still fun to see the window seat’s progression from “looks like a toddler threw that together” to “kind of professional if you don’t look too close.” 😀  For instructional info, do what I did and Google “window seat DIY.” I watched tons of videos to see all the different elements that might be involved.

Before/After Pub Table

Here’s the “before” pictures (though not quite the best angles):

20140325-161532.jpg

Listing picture from before we painted


20140325-161216.jpg

Progress photo while in the middle of painting cabinets and adding pulls

It now occurs to me that I don’t have a SINGLE finished picture of the kitchen. Mental note… document final results!

Anyway, here’s what it looks like after disassembling the pub table. The window looks absolutely huge! The side of the cabinet will require some creative patch work.

20140325-110616.jpg

Building the Window Seat

First we removed the baseboard, then built sort of a mini “wall” frame and anchored it to the tile floor along the joists with 3″ decking screws. We pre-drilled the holes so as not to crack the tile. That’s a ledger board screwed to the wall under the window for the top of the box to be mounted to.

20140325-110648.jpg

After the frame was built and secured, we measured and cut the plywood for the front and the top edges around where the doors would go. The wall vent had to be extended to the front of the box using rectangular wall vent ducting and an elbow joint to lower it towards the floor a bit.

20140325-110726.jpg

Adam built a plywood casing around the duct so it wouldn’t get squished when we loaded stuff into the cabinet.

I really took my time cutting the wood for the doors since they needed to be functional and also look fairly clean. It took 2-3 hours to measure, cut, and hang them by myself. They are 48″ and 30″ long.

20140325-155104.jpg

As soon as the top was secured, Murphy laid claim to his new throne.

20140325-110836.jpg

Trimming the Window Seat

After days and days of construction, I was so excited to do the finishing touches! Semigloss white paint and base cap molding boxes make it look almost professional. I also used cove molding to trim out the top along the wall and a piece of stop moulding to dress up the front edge of the doors. The baseboard was salvaged from the wall behind the window seat.

20140325-155432.jpg

20140325-160126.jpg

Pretty on the Inside

Once the outside was pretty, it was tempting just to throw my kitchen supplies inside and close it until Thanksgiving. But if you know me, you know I’m way too OCD for that. I just HAD to trim out the inside of the cabinet too. Really, I was thinking about resale. As a homebuyer, I wouldn’t want to open a shiny white cabinet and see this:

Yucky bare floor and torn up walls where we removed the baseboard. Not very clean!

Yucky bare floor and torn up walls where we removed the baseboard. Not very clean!

So I painted the bare wood, covered the walls with beadboard wallpaper, and stuck down some vinyl floor tiles. (I mean, I’m not totally insane… I wanted it to be clean and nice, but not so much that I was willing to use real wood and tile to do so!)

IMG_7790IMG_7788

IMG_7820 IMG_7819 IMG_7818


Patching the Cabinet

I was even able to repair the side of the cabinet where the pub table came off. I spliced together some of the panels that made up the sides of the old pub table cabinet. They looked like Frankenstein at first….

20140325-111003.jpg

Nothing a little putty and paint can’t fix! (OK, a lot. A LOT of putty and paint.)

20140325-110933.jpg

A Pillow of Epic Proportions

Now I’m just working on finishing up the giant 7-foot pillow cushion. It’s hilariously huge. Someday I will make a high density foam seat cushion, but this will suffice for now!

20140325-111041.jpg

20140325-111100.jpg

Have you ever made a pillow bigger than yourself? It is a hilarious good time… I definitely recommend it. I might put it on my bucket list just to cross it off.

Happy window sitting,

20131010-172150.jpg