崇德尚技●爱教乐学●予人育人●服务社会
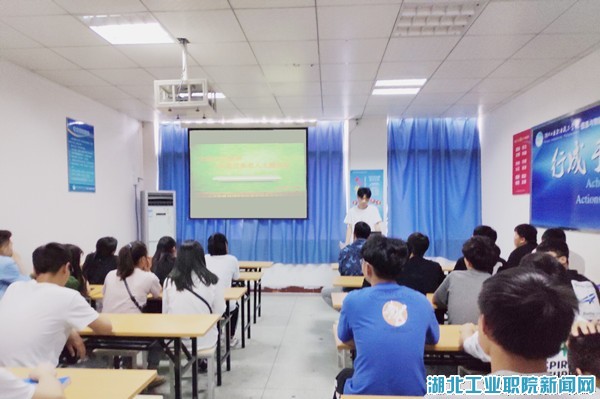
雷竞技组织召开“弘扬五四…
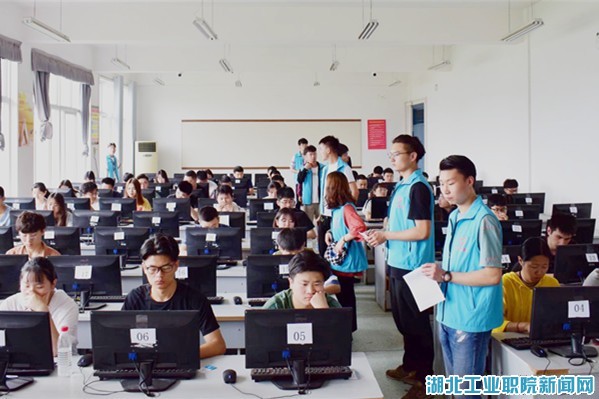
“青春e行”志愿服务队举办“指…
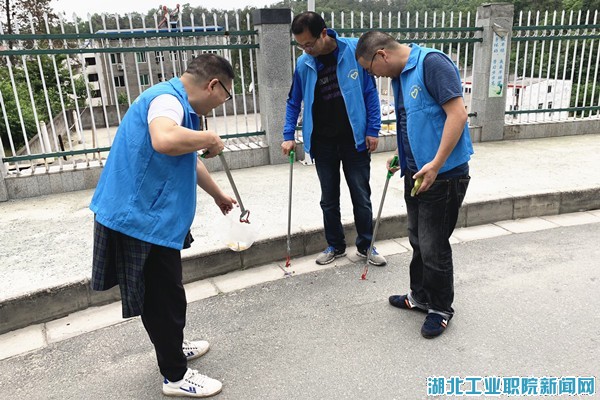
雷竞技教师深入高校园社区…
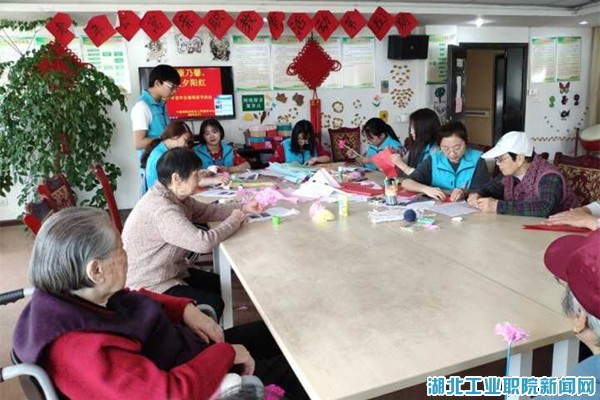
“青春e行”志愿服务队开展“感…
雷竞技开展“传承弘扬五四…
版权所有:雷竞技RAYBET_电子竞技赛事|APP下载-综合赛事娱乐平台 地址:湖北省十堰市北京中路38号四号教学楼 电话:0719-8126262